Taurus PT92 Econo Race Gun Project
Finally all of the parts making and fitting is complete. (At least, I HOPE so!) In this, the last part of the Taurus PT92 Econo Race Gun project, I will wrap up the last two modifications.
Unless you happen to be left-handed, an ambidextrous safety isn't too much of a concern, but for us lefties in matches where you must start with the safety on, reaching around the gun to take the safety off can be a pain!
Setting up a second safety lever on the right side of the gun is a relatively easy proposition, although it involves some hand work to get it where you want it to be. The original safety lever on the left side is roll pinned onto a small shaft that has a head on it that looks a bit like a big nail.
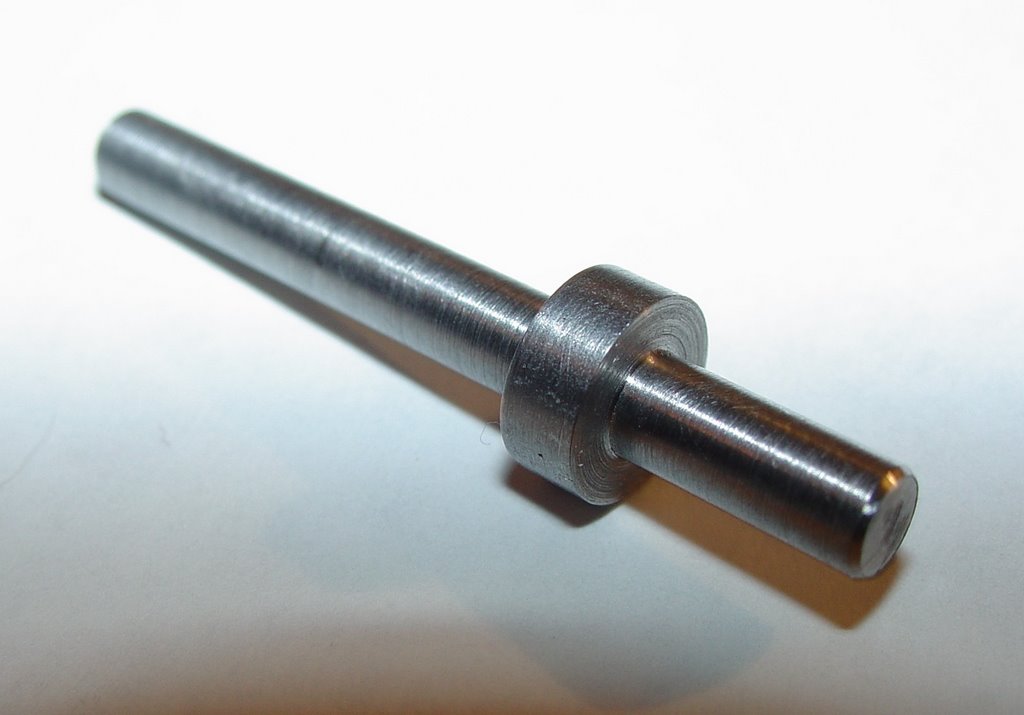 Partially machined extended safety lever shaft.
All that you have to do is to duplicate the original shaft, but extend a short section of the shaft out the right side, as you can see in the picture. Then make up a lever for the right side out of a piece of aluminum and roll pin it to the right end of the shaft.
 Aluminum lever mounted onto the new shaft and installed into the Taurus.
A bit of grinding and filing to get it rounded and shaped to your preference, then cut a hole in the top rear part of the right grip panel so the shaft sticks through.
 Finished Ambidextrous safety in place.
Put the grip panel back on, and check it for binding against the extended shaft. Finally, roll pin the original safety lever on to the left side of the shaft.
The last addition to the Taurus was to make up a compensator. I bought one that clamps on to the barrel on eBay, but it was built out of too light of material and it developed cracks after forty or fifty rounds. I had a piece of stainless shaft in the misc. materials bucket, so I sawed off a piece and started machining away everything that didn't look like a compensator.
I sketched the approximate shape on the side of the stainless piece, then machined it to my sketch lines. More machining, then boring it to fit the barrel stub, then slotting it so it could be clamped to the barrel with a clamping screw, and it was just about finished.
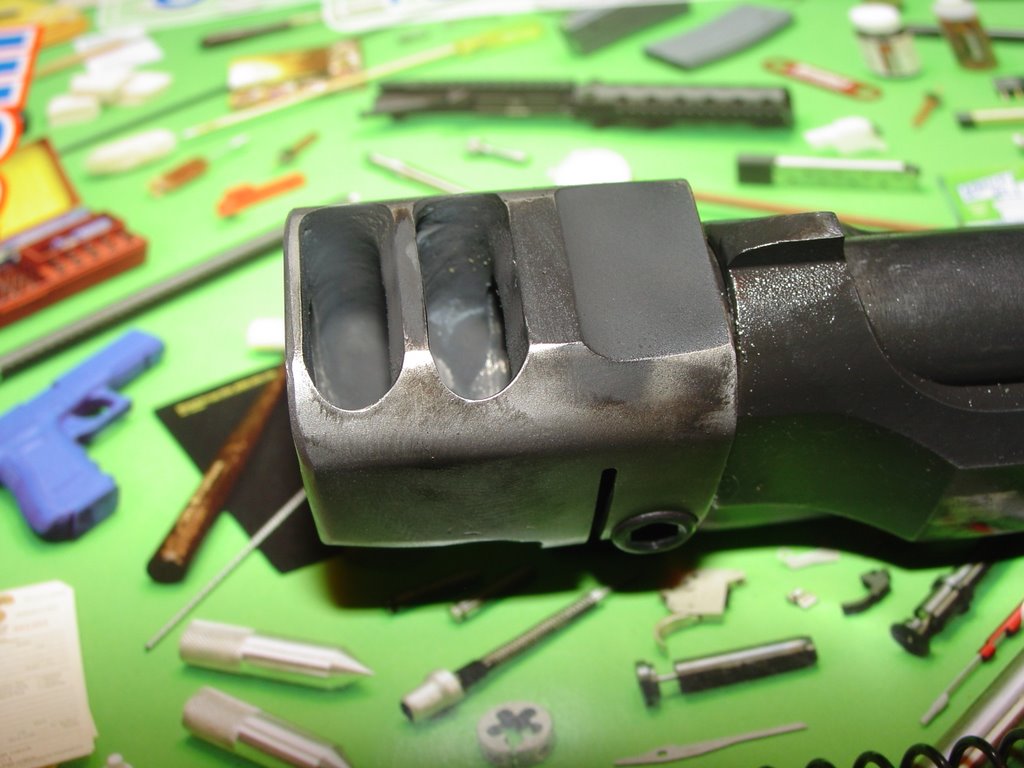 The finished compensator mounted to the barrel.
Finally, after rounding off all the sharp corners and contouring things a bit, it was time for a final finish. For that I gave it a quick bead blast matte finish. After putting some Loctite on the clamp screw threads, I clamped it onto the barrel.
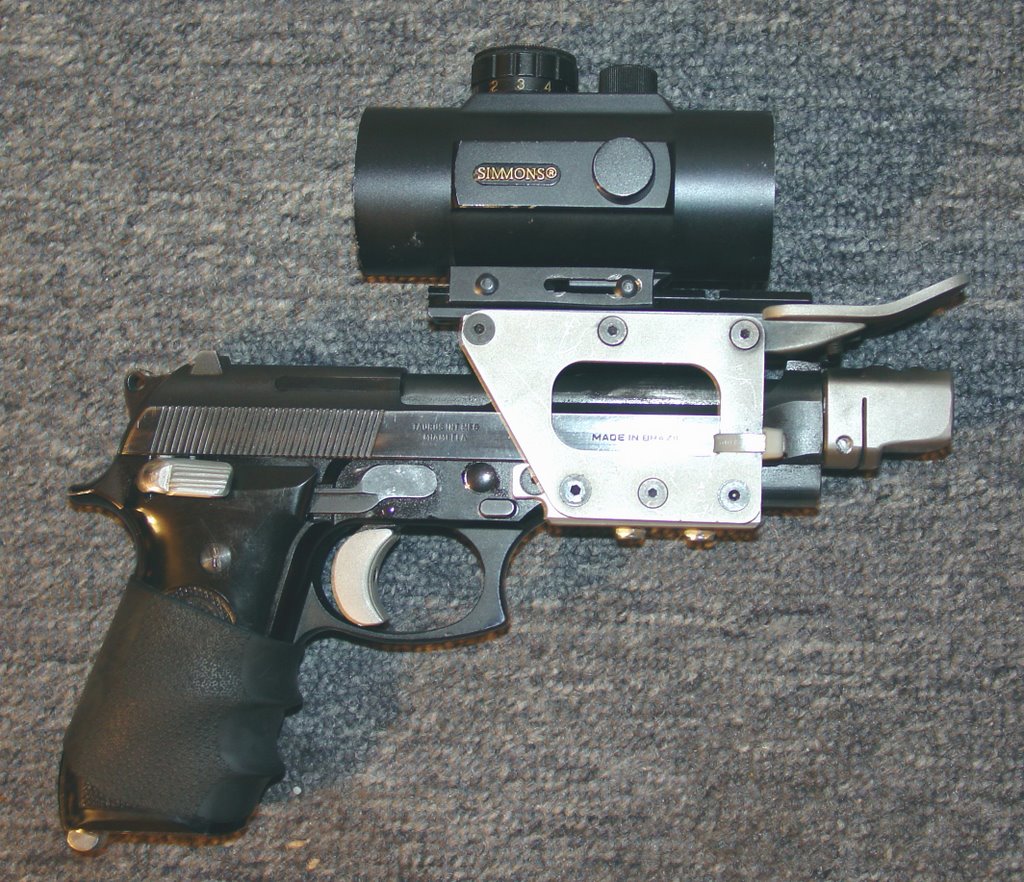
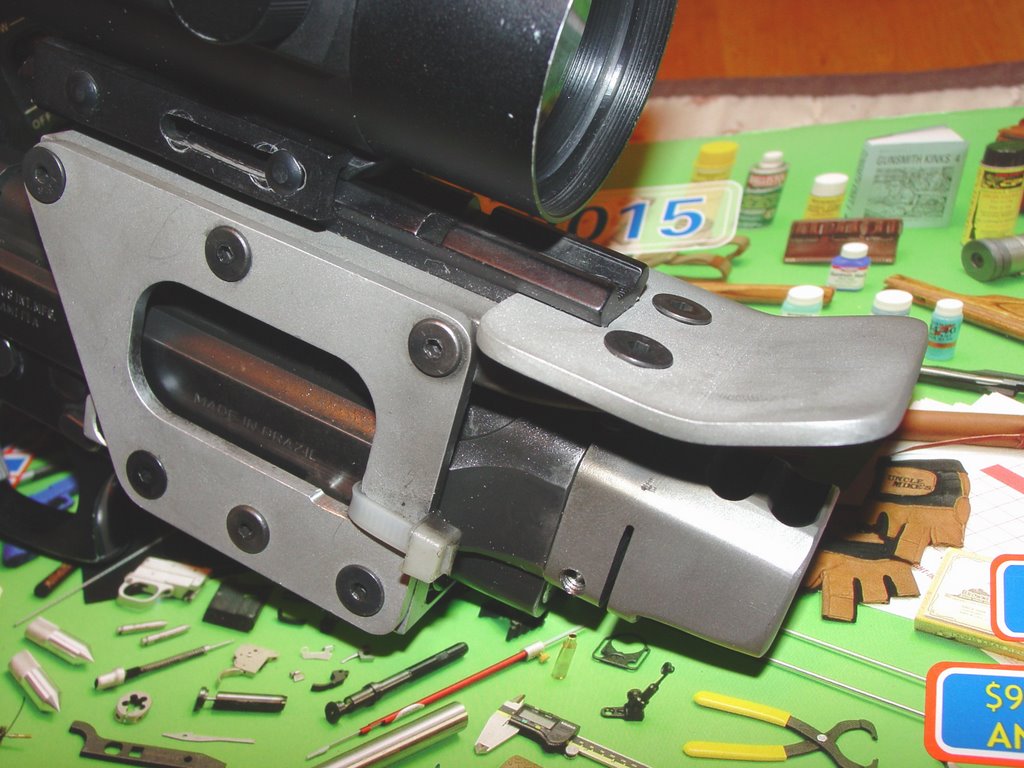 Everything in place, and ready for the range.
All that remains is to fine tune the loads, and then actually practice enough that I can get competitive with it.
It's reliable, reasonably accurate, and was a whole lot of fun to develop.
Now comes the shootin' part.........
Previous Parts of this Series:
PT92 Econo Race Gun Project - Part I
PT92 Econo Race Gun Project - Part II
PT92 Econo Race Gun Project - Part III
PT92 Econo Race Gun Project - Part IV
This series of posts are a description of what I did to my own personal Taurus PT92 to modify it for my particular usage. This is NOT a Do-It-Yourself instructional series on how to modify YOUR Taurus. What you choose to do to your own Taurus is up to you and your gunsmith. Just because it worked for me is no guarantee it will work for you.
Do not make any modifications to ANY firearm without consulting a knowledgeable gunsmith first!


0 Comments:
Post a Comment
<< Home